
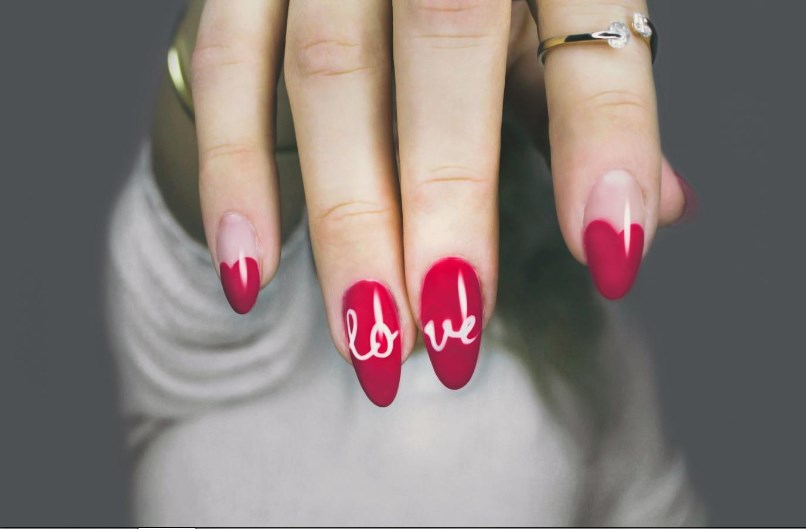
There are so many nail extensions and nail art options these days, from glitter acrylics to stunning nail art effects; the nail world is constantly evolving! As a result, it’s more important than ever to master the fundamentals. Let’s talk about Builder Gels.
But it’s not just nail art and acrylic nails that are becoming increasingly popular. Natural-looking nails, as well as promoting nail care and strength, have all risen in popularity! As a result, builder gel has taken the industry by storm, allowing nail technicians to add strength to their clients’ natural nails, allowing nails to grow, and keeping them looking perfect for 2/3 weeks.
Read Also: A List of Fashion Industry Jobs You Didn’t Know Existed
There is a wide variety of gel polish brands to suit all budgets. Most gel polish brands have now branched out into the world of builder gels, and everyone is crazy about them. We figured now would be the best time to answer some of the most frequently asked questions about builder gels. Do you want to know what the advantages of gel manicures are? Or whether gel or acrylic is preferable for your customers? Continue reading to find out!
What is builder gel?
Builder gel is applied to the nail when you want to add length, thickness, or strength. You can apply builder gel to natural nails for a non-chip overlay or use it with nail tips to create extensions or enhancements. Furthermore, it’s much stronger than regular gel polish base coats, and the formula is thicker than a standard base coat. They have excellent self-leveling properties, resulting in a smooth foundation layer.

How long does builder gel last?
Builder gel can last approximately 2-3 weeks. Though a builder gel manicure can last up to three weeks, this often depends on your brand, how well you apply it, and how well the old coat is removed. Additionally, a solid and healthy base is required when applying to natural nails.
To achieve the best results, always follow the instructions provided by your chosen gel brand. This frequently entails only using products from your chosen builder gel nails system, for example, not combining one builder gel with another brand’s topcoat.
However, it would be best to use the proper LED or UV nail lamp for the appropriate time. When the builder gel starts to grow out, you can infill it like acrylic or remove the set and apply another right away if the nail is still in good condition.
How to use builder gel?
The way you use builder gel is determined by the brand you purchase. Some need a primer or base coat before application, whereas others, such as Glossify, can be applied directly to the nail for a faster application.

If you only apply builder gel to the natural nail, it can be applied in several coats and built up to the desired thickness and shape, curing between layers. Apply your nail tip or form before applying the gel and creating the length if you’re extending the nail.
In general, the steps for applying a builder gel would look something like this:
- Clean, file, and buff the nails to prepare them-push the cuticle back, trim it and wipe the nail with a lint-free pad and acetone or nail cleanser.
- If your builder gel requires it, apply a base coat or primer. If necessary, cure it under a nail lamp. However, you can skip this step and save time if you don’t need a primer.
- Apply the builder gel – if using bottled builder gel, paint it on. Alternatively, if you have a gel pot, you will need to pick up a small amount with your nail brush. You should, however, avoid the cuticle and make sure to cover the free edge. Builder gel tends to ‘self-level,’ so let it settle for a few seconds to ensure it is applied evenly.
- Cure under an LED/UV lamp – your chosen builder gel should specify what type of lamp to use and how long to cure it.
- Apply a second coat – if necessary, apply a second coat and cure once more.
- Remove any tackiness and clean the nail with a lint-free wipe and isopropyl alcohol.
- File the nail – perfect the desired shape for your client and even out any areas that may be too thick.
- Apply color or top coat – wipe the nail clean once more, and then apply your topcoat. If your client wants a different color, paint it on and cure it again.
- Finishing touches – your manicure is completed once all of your gel has been applied and adequately cured! Before your client leaves, apply a small amount of cuticle oil and inform them of any aftercare instructions.
How to Create Nail Extensions Using Builder Gel?
There are two ways to make nail extensions with builder gel. Half cover tips are used in the traditional method, and the steps in this method are very similar to applying builder gel to natural nails. After cleaning and dehydrating your nails, the only difference is that you apply the half cover tip with a good quality nail glue, followed by pH bonder and gel primer, and continue.
Nail technology has advanced significantly, and there is now a much faster and easier way to create nail extensions using builder gel and full cover nail tips. This method employs pre-shaped nail tips that cover your entire nail, eliminating the need for nail shaping. The advantage is that this nail extension method is just as strong and lasts as long as other methods.
Bottomline
Builder Gel is an excellent choice if you want strong, long-lasting nails. Additionally, builder gel is a relatively low-maintenance option if you use high-quality products and properly care for your nails. There are numerous builder gel products available, so you’re sure to find something that suits your preferences and application style. Builder Gel is worth considering if you’re looking for a long-lasting, durable option.


